A First Game of MegaMek
Follow these instructions to quickly get a first game of MegaMek up and running against the built-in AI.
- Start up MegaMek using the OS-specific instructions on the downloads page.
- At the splash screen, choose
Start a new game. You will be prompted to enter your name. This is how your player name will display in-game. You do not need to enter a server password. - You will now be taken to the lobby where you can prepare your units, the AI, and the map. There are a lot of customizable options here, but we are going to focus on the basics.
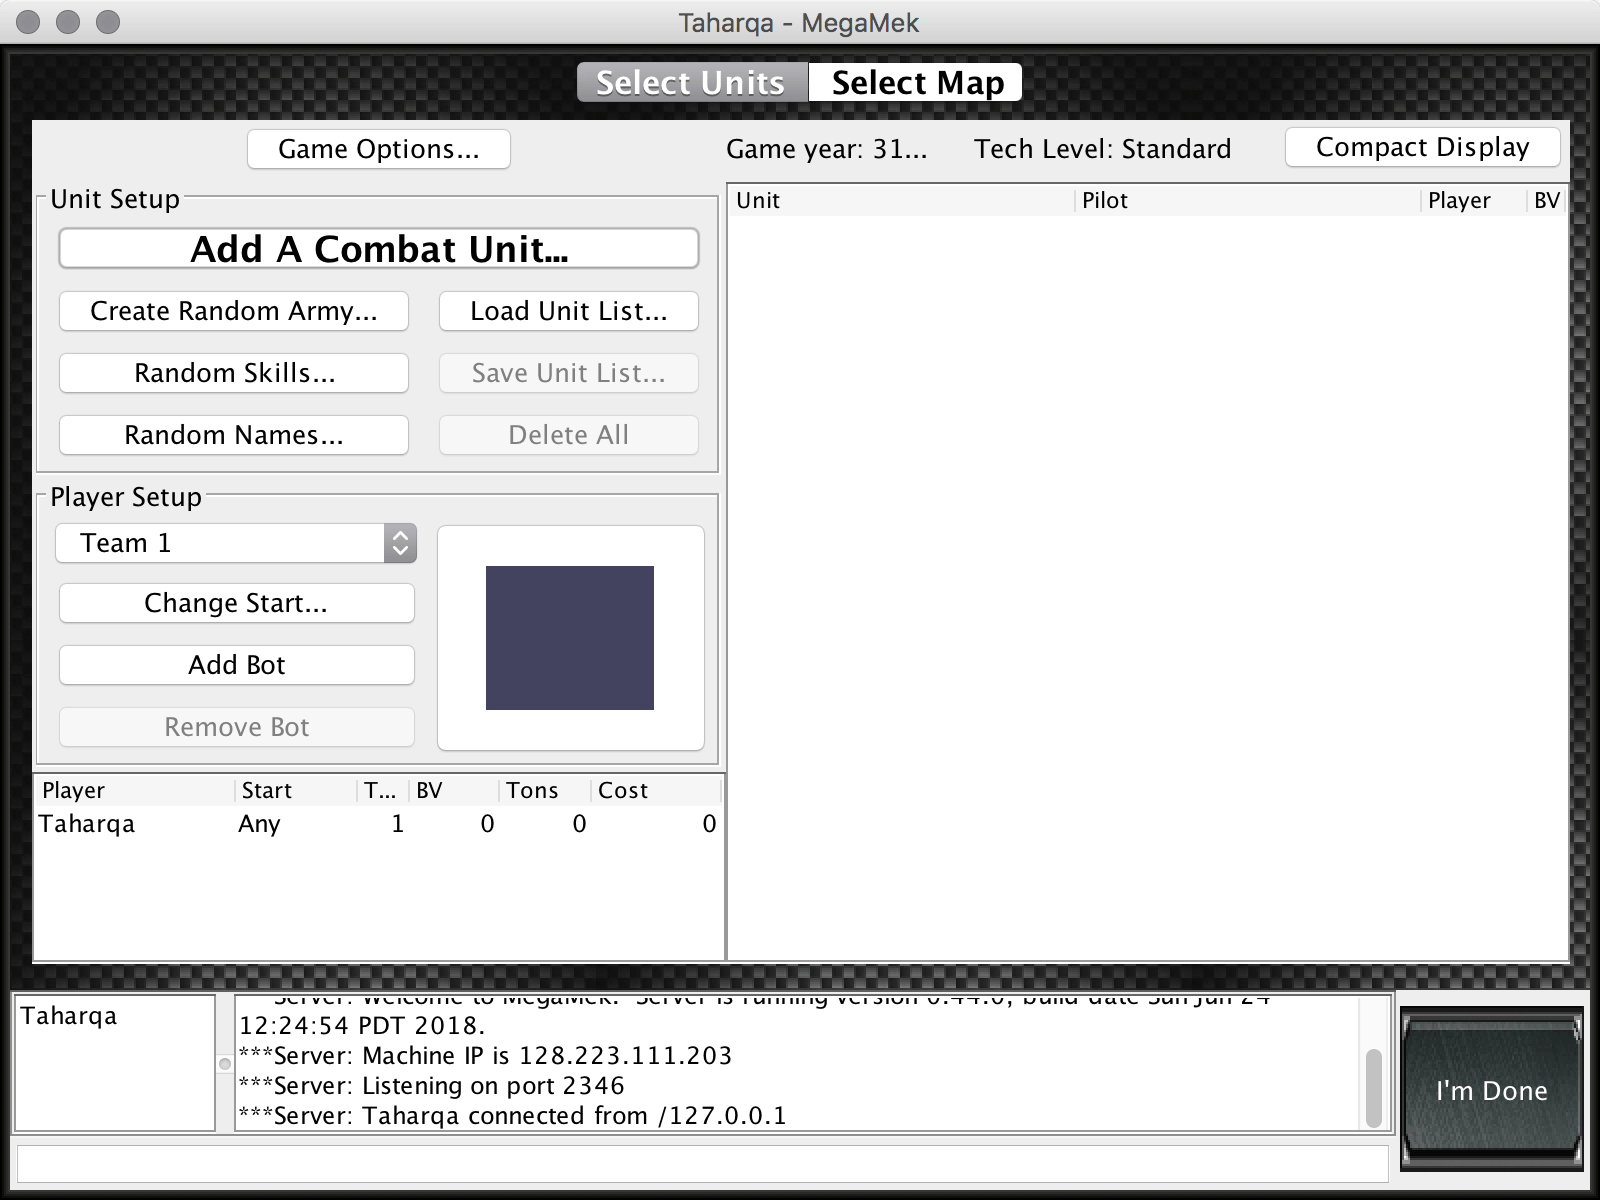
- Select the
Add a Combat Unitbutton. From the dialog, you can search the more than 6000 units you can add to a game to find the unit that is right for you. For now lets just use the filter to search for a Warhammer WHM-6D. If you just type “Warhammer” into the filter, you will see all the Warhammer units available. Choose the WHM-6D and hit “Select.” Lets also add a Wolverine WVR-6M using the same procedure (I like “W” meks). Now you can close the dialog. You will see both units on your unit list to the right.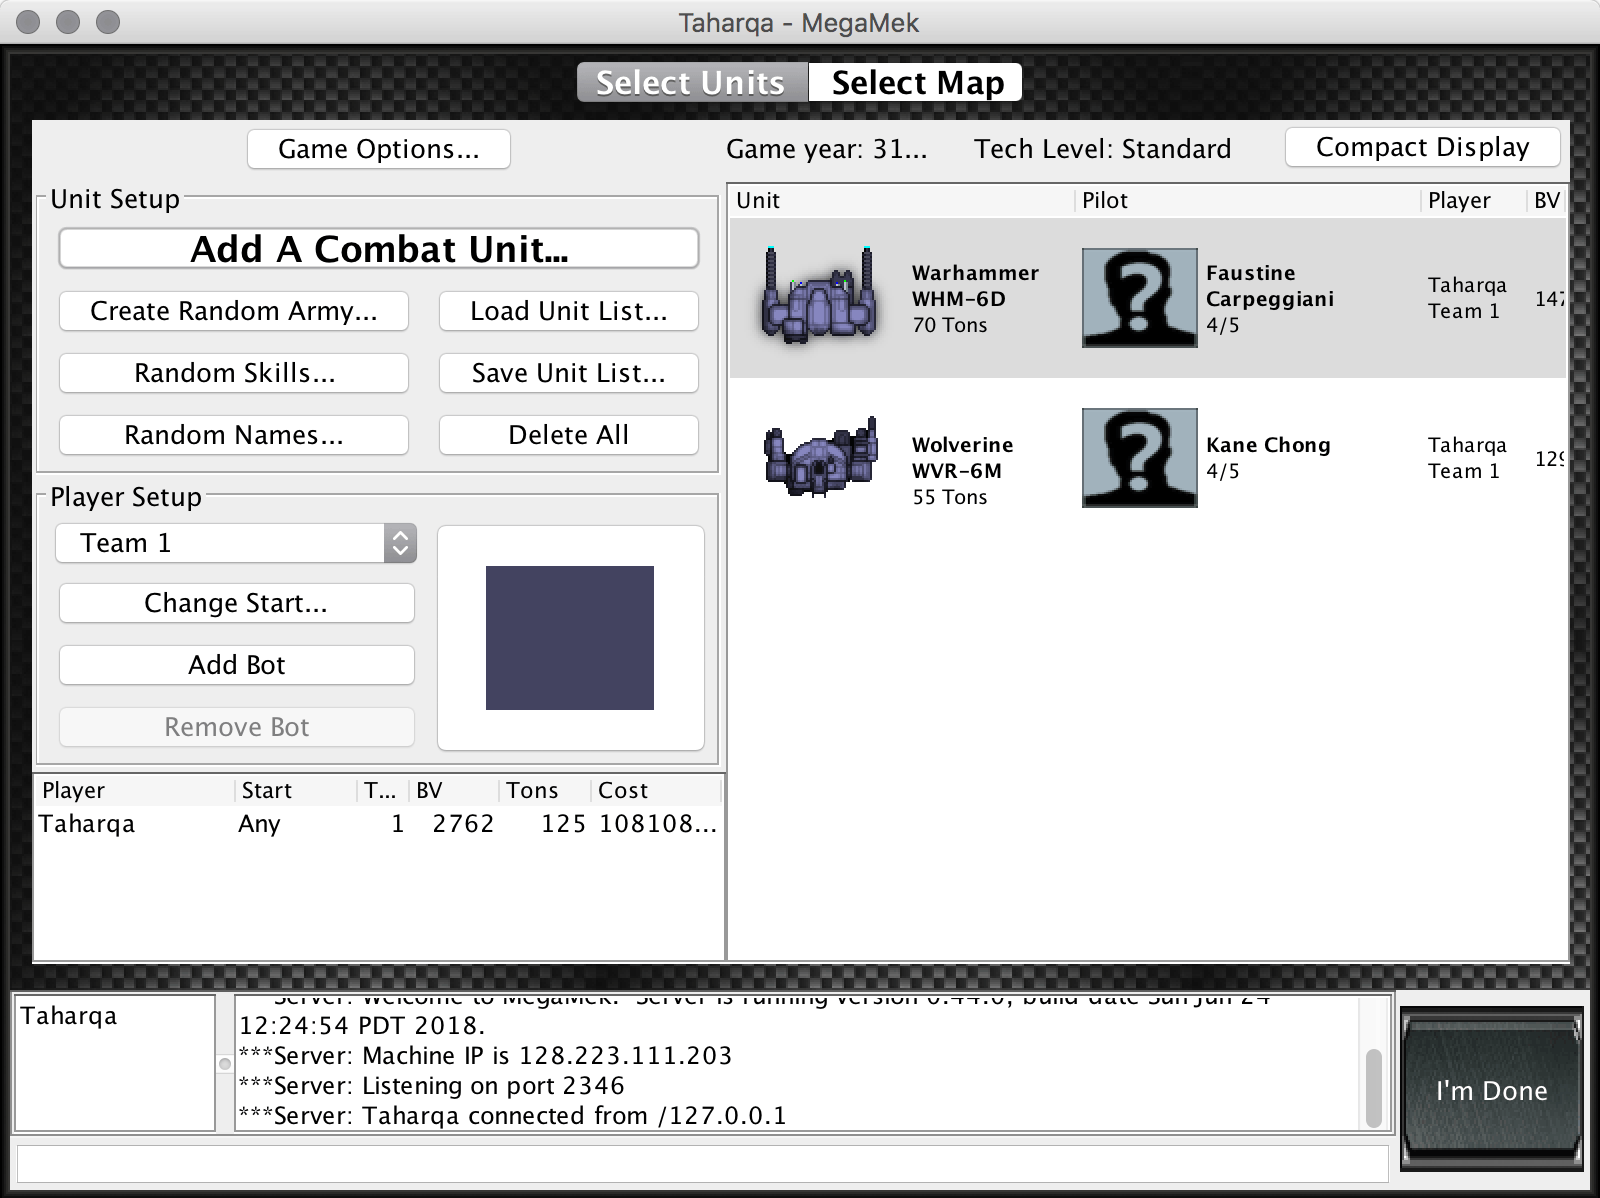
- Lets add an AI Bot as an opponent. Select the
Add Botbutton. This will bring up the bot configuration dialog. You want to make sure you are using the “PrincessBot” and not “TestBot.” You can fiddle with various settings to change the behavior of the Princess bot, but for now we will leave everything at the defaults. If you want, you can change the name of the bot player at the bottom. Once you are satisfied with the bot’s name, selectOkayto return to the lobby. - Lets add some units for the bot. Since its your first game, we won’t make these units very tough. Select the
Add a Combat Unitbutton again. On the unit selection dialog, You will notice a little drop-down at the bottom that allows you to select your player or the bot. Choose the bot and select two Panther PNT-9Rs for the bot. Close out of the dialog and you will see both of your units as well as the bot’s units in the unit list. - We are not going to do much customization for this game, but we should at least choose some nice camo for our units. The big square color button in the
Player Setupsection will allow you to select a camo. There are lots of choices, so pick something here that fits your style or favorite faction. You can also select a camo for the bot by selecting it from the player list in the lower right and then selecting the camo button. - The final step on this page is to define starting positions for each of the players. You can do this by selecting the
Change Startbutton in thePlayer Setupsection. Since we left the Bot’s home edge as North, lets have it deploy from the North and we will deploy from the South.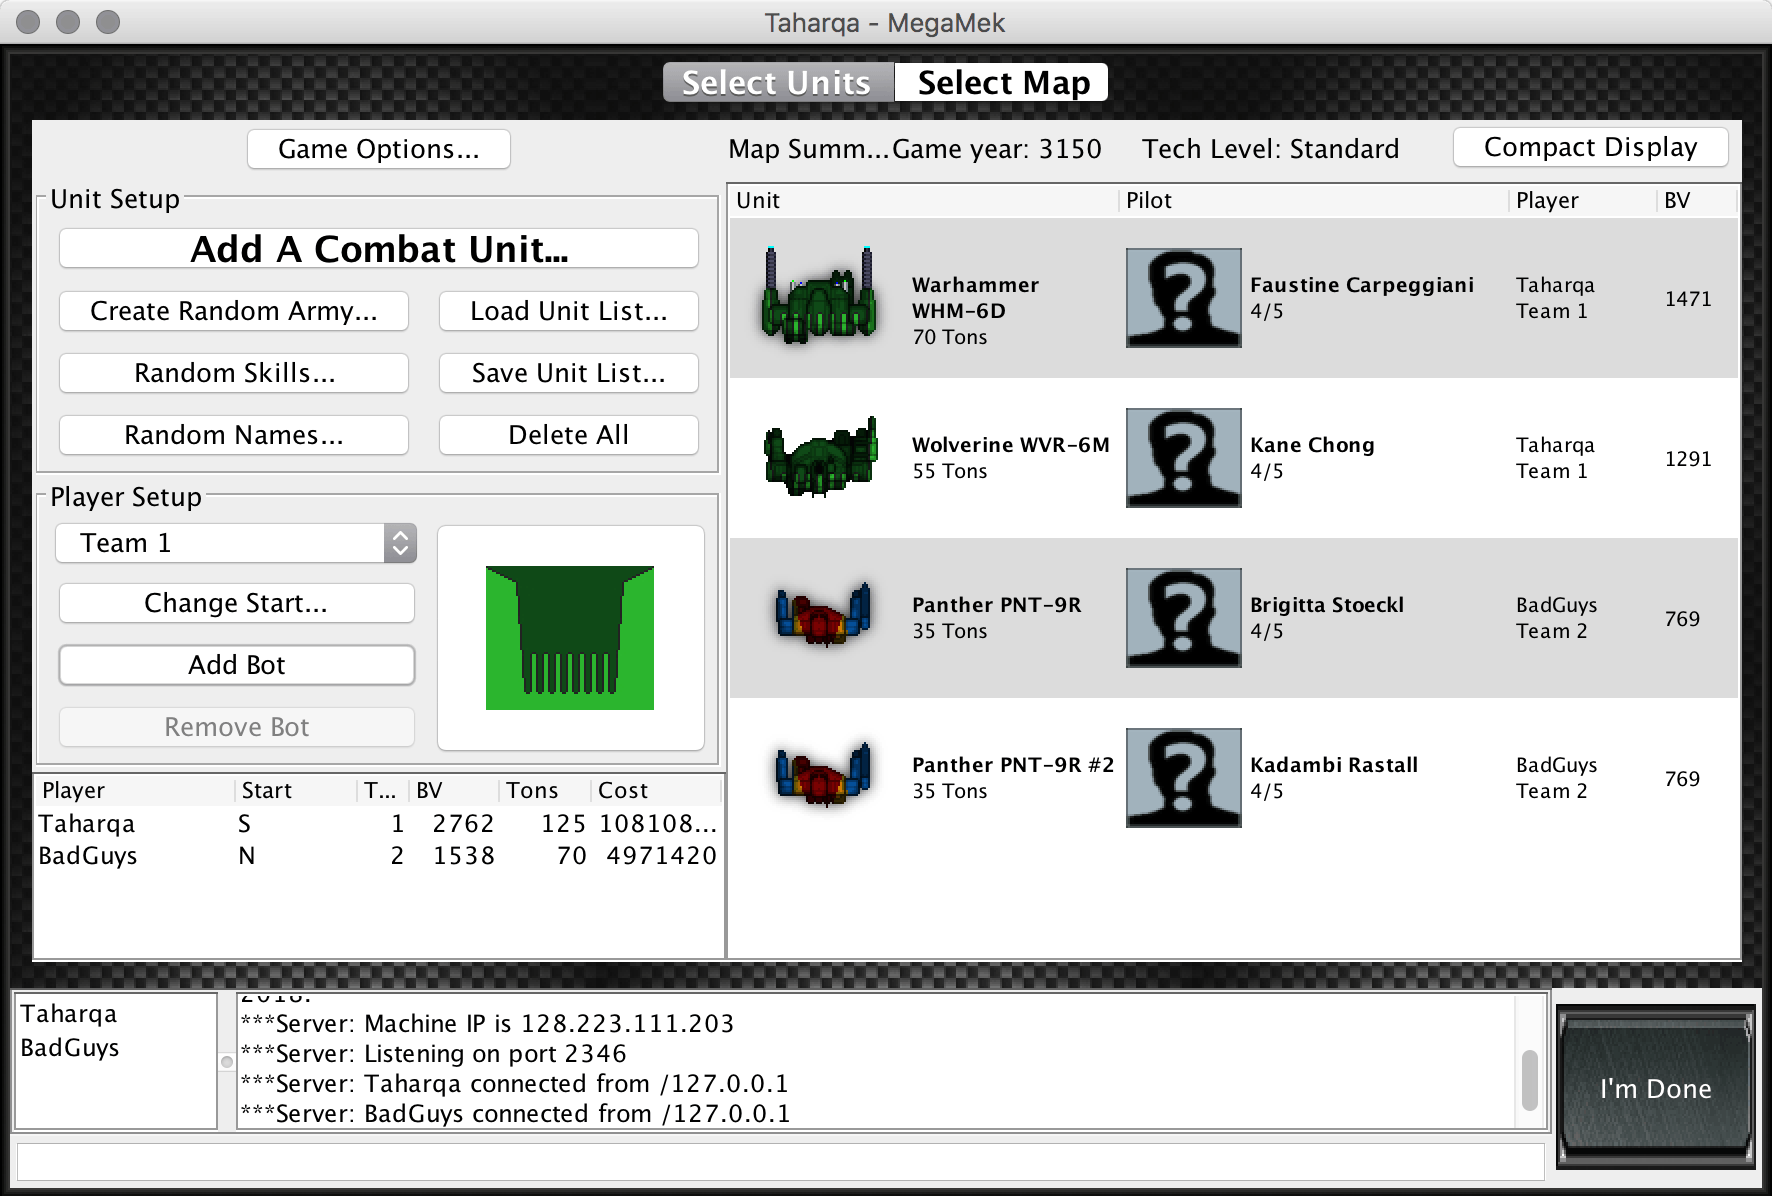
- The last thing we need to decide is what map to use. Use the tab selector at the top to move over to the
Select Maptab. We will stick with the default 16x17 map dimensions. Lets choose “Desert Hills” for simplicity of terrain features.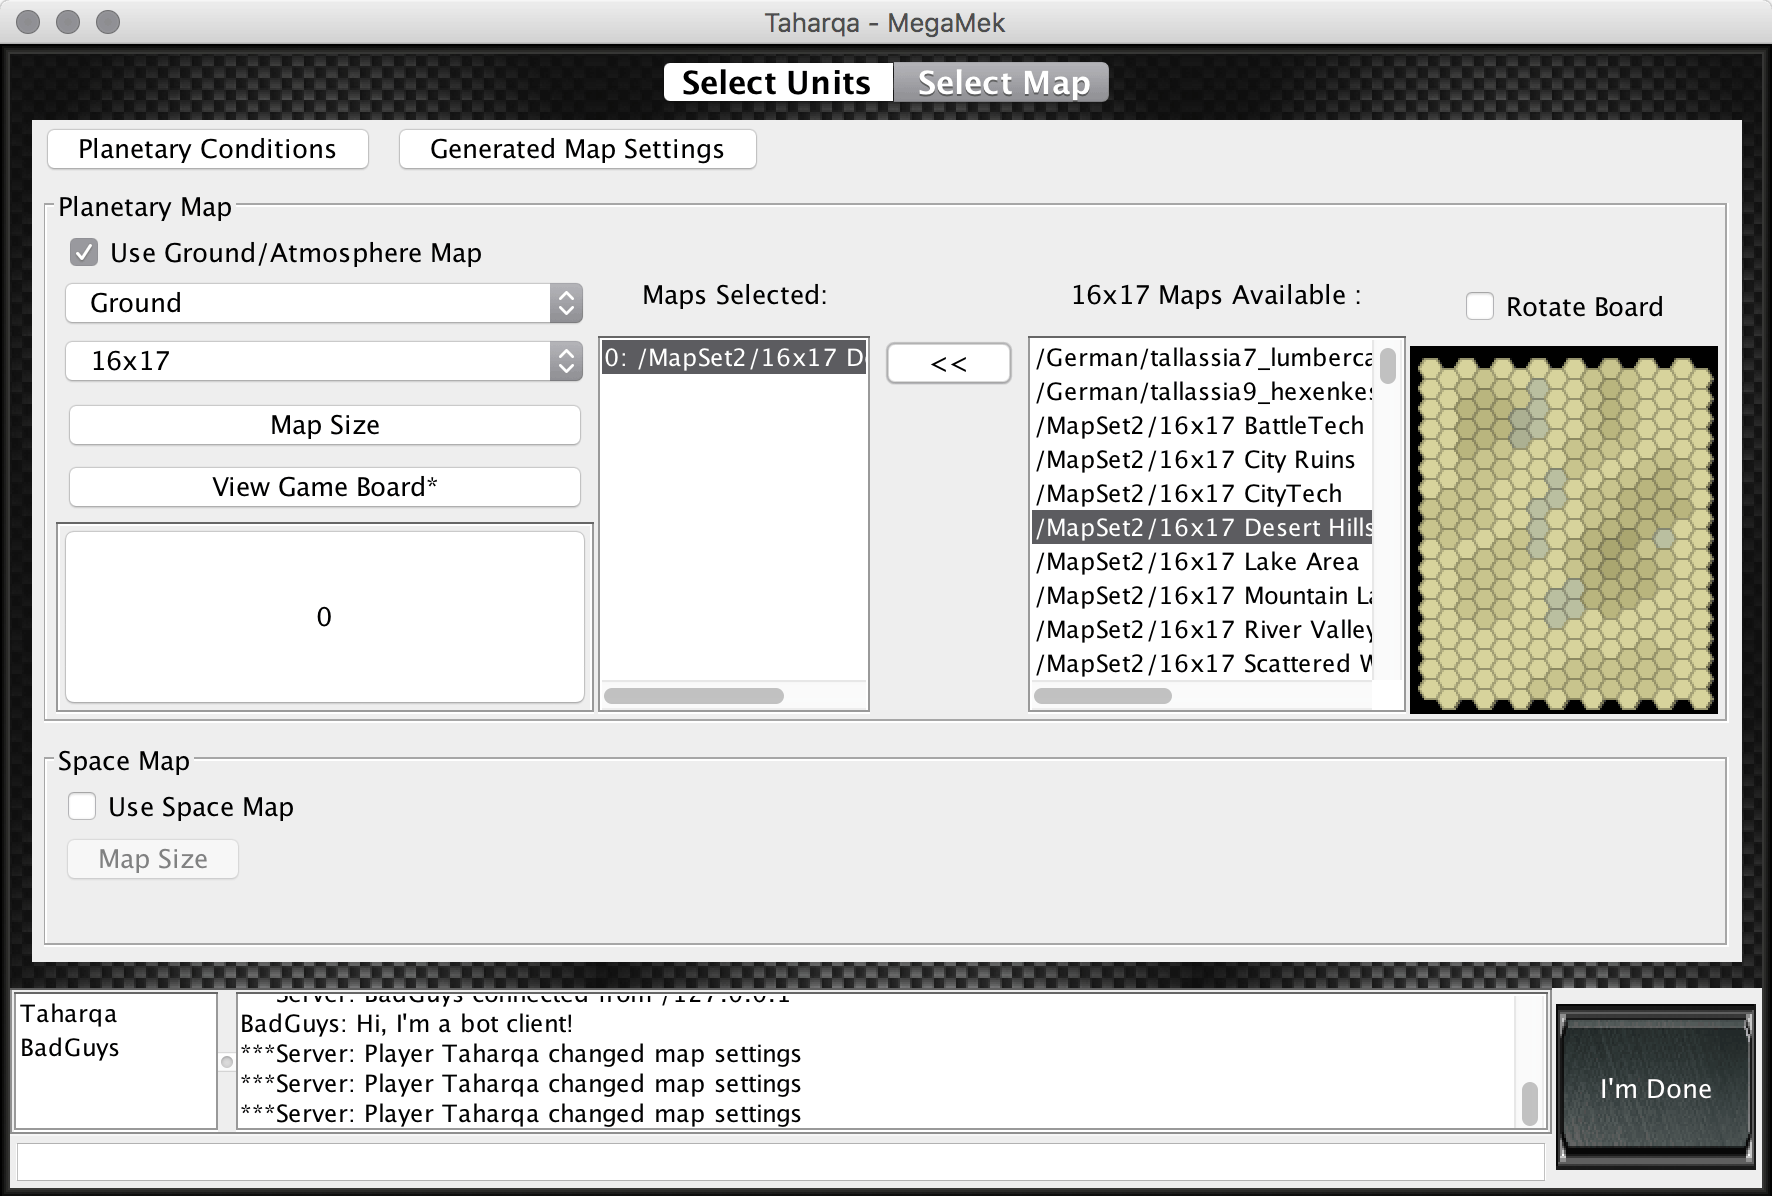
- Now you are ready to play. Select the
I'm Donebutton in the lower right and hit the action. - Your first screen will be the initiative screen where you will learn who won initiative and the order of movement. Select the
Donebutton in the lower right. We will use that button in the lower right to say we are done with our turn in multiple phases of the game. - We now move to the deployment phase. You will see the main game view of the board as well as a mini-map and a unit display. You can drag your mouse with the middle mouse button (or use two fingers on a MacBook/Pro or Magic TouchPad) on the main screen to move your view around the map or you can click on an area of the minimap. You can also use your arrow keys to scroll around the map. The unit display has tabs with important information about your unit, including pilot information, armor information, and weapon information. You need to select a hex highlighted in yellow to deploy a unit. Select
Deploywhen you are satisfied with the deployment position. Repeat with your remaining unit.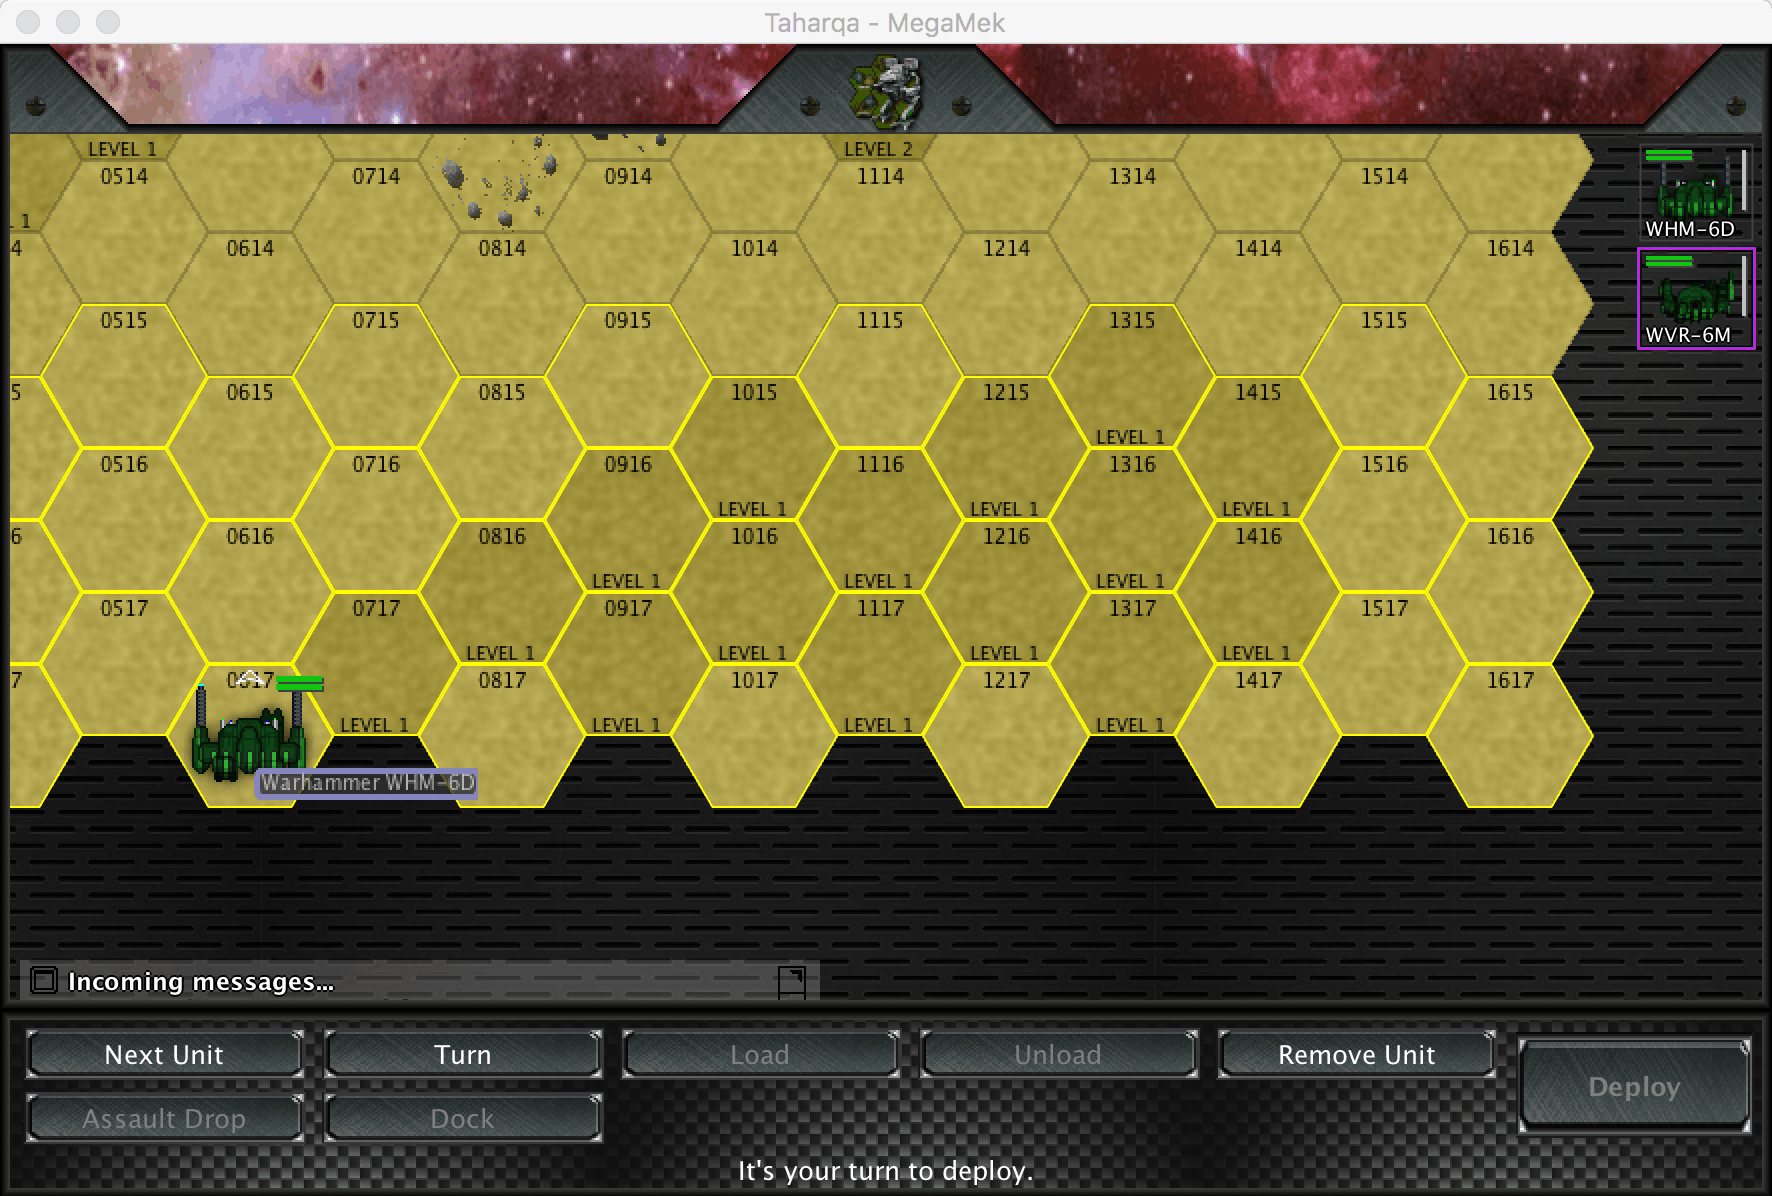
- Now we move to the movement phase. For the selected mek, click on the hex you would like to move to and you will see a movement path. Moving across different kinds of terrain costs different movement points and each unit has different movement points available. If the path is blue, then you are only walking. If its yellow, then you are running. If a given hex on the movement path is greyed out, that hex is impossible to reach. The faster you move, the harder it is to hit other units. On the other hand, the more hexes you move, the harder you are to hit. You can also use the jump button (or the “j” hotkey) to jump units that are jump-capable. Jump movement paths will show up in red. You can hit the backspace key to remove a single step from your move path or escape to remove the entire path and start over. You can also hold down the shift key to change the facing of your unit without moving into a new hex. Once you are satisfied with your mek’s movement choice, select
Move. Repeat with the other mek.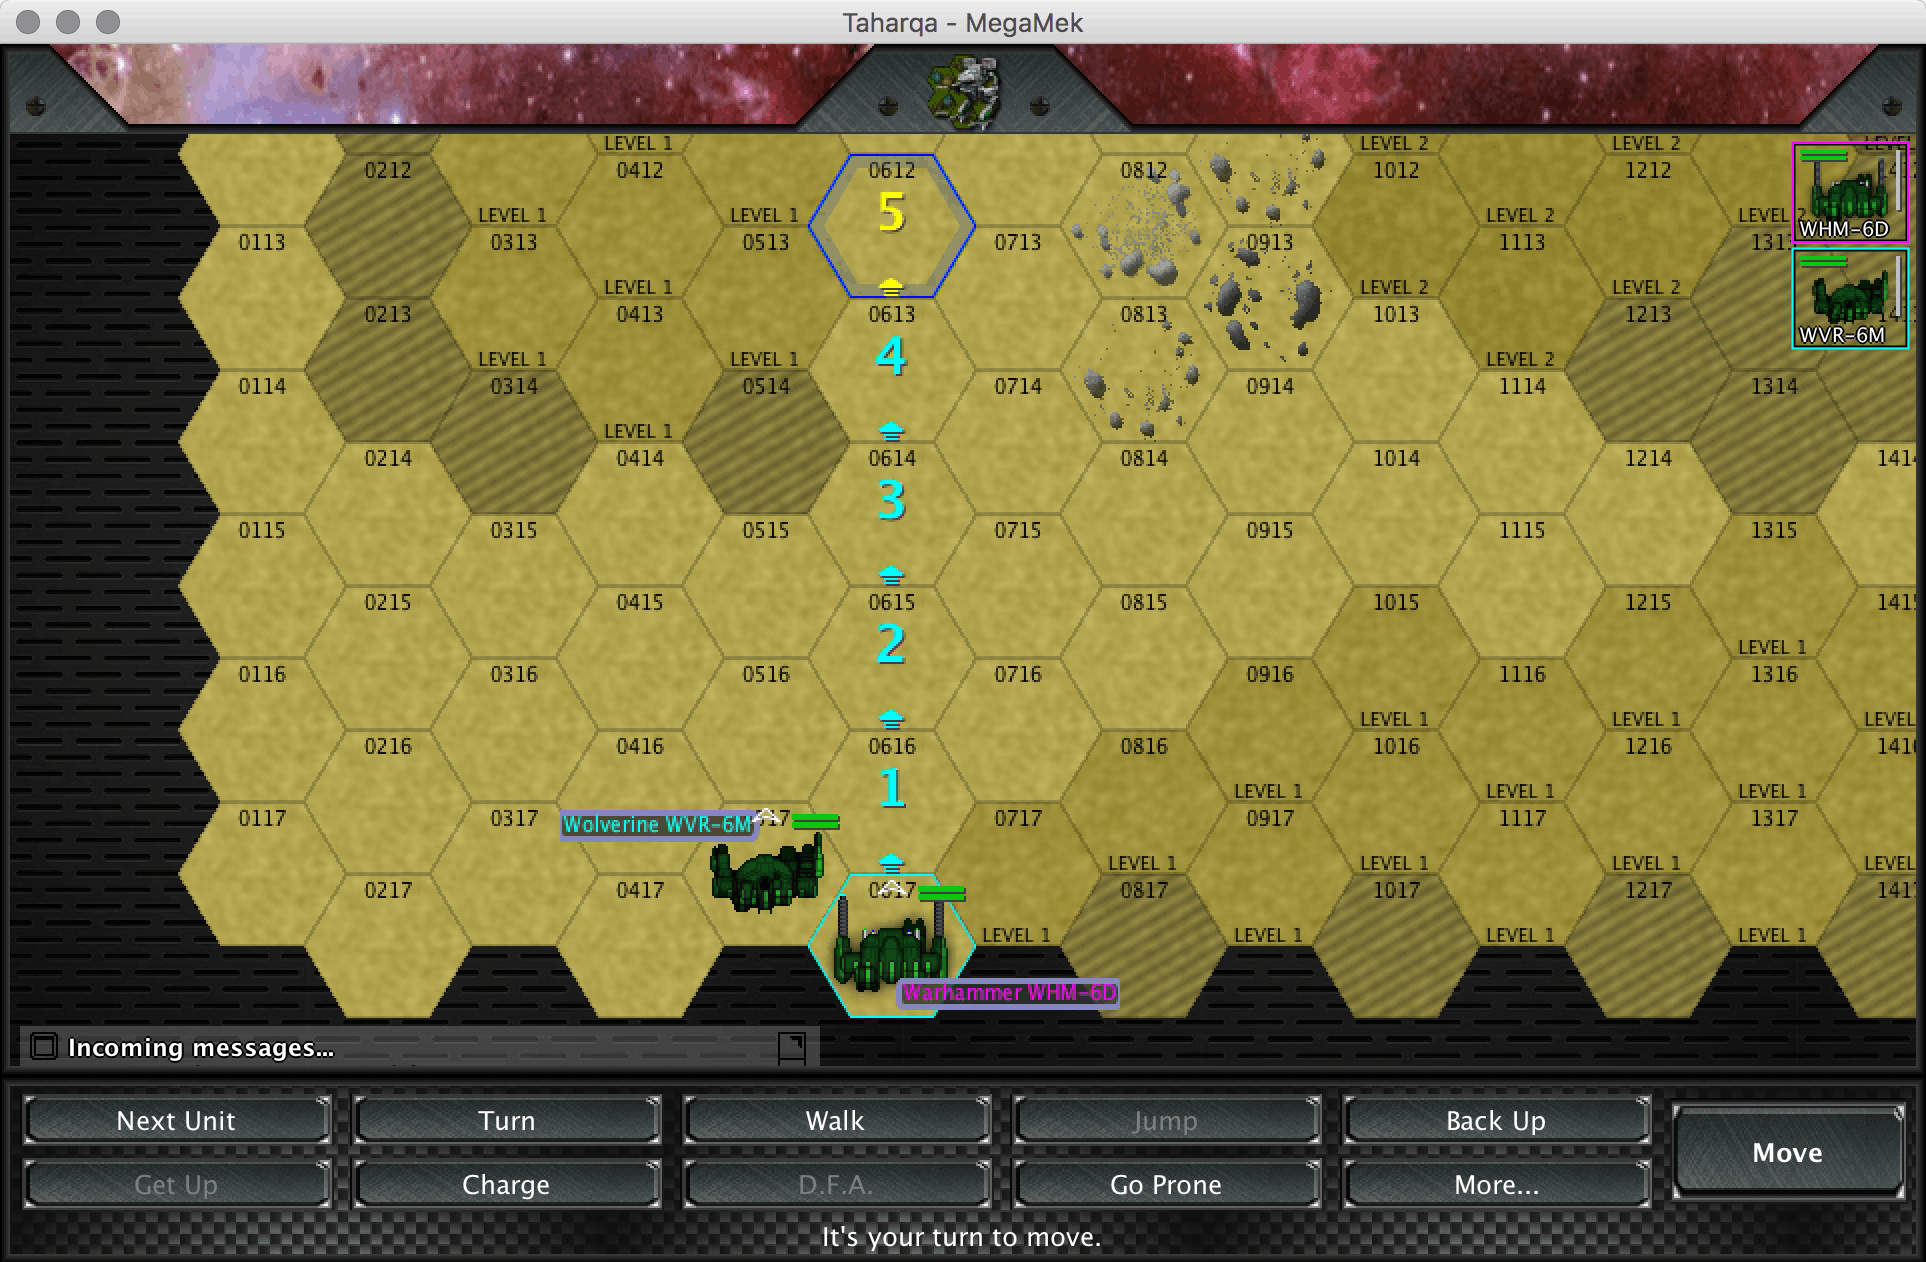
- Now we move to the firing phase. Select the unit you would like to target. Now look over at the unit display which will be showing the weapon tab. You can use this tab to select which weapons to fire. If you select a given weapon, you will see a report showing you the chances of hitting your target as well as any modifiers that apply. To fire with a given weapon, select the
Firebutton. You will see an arrow appear between your unit and the target. Continue firing weapons until you are done, but don’t forget to keep an eye on your heat build-up. When you have ready, select theDonebutton. Repeat with your remaining unit.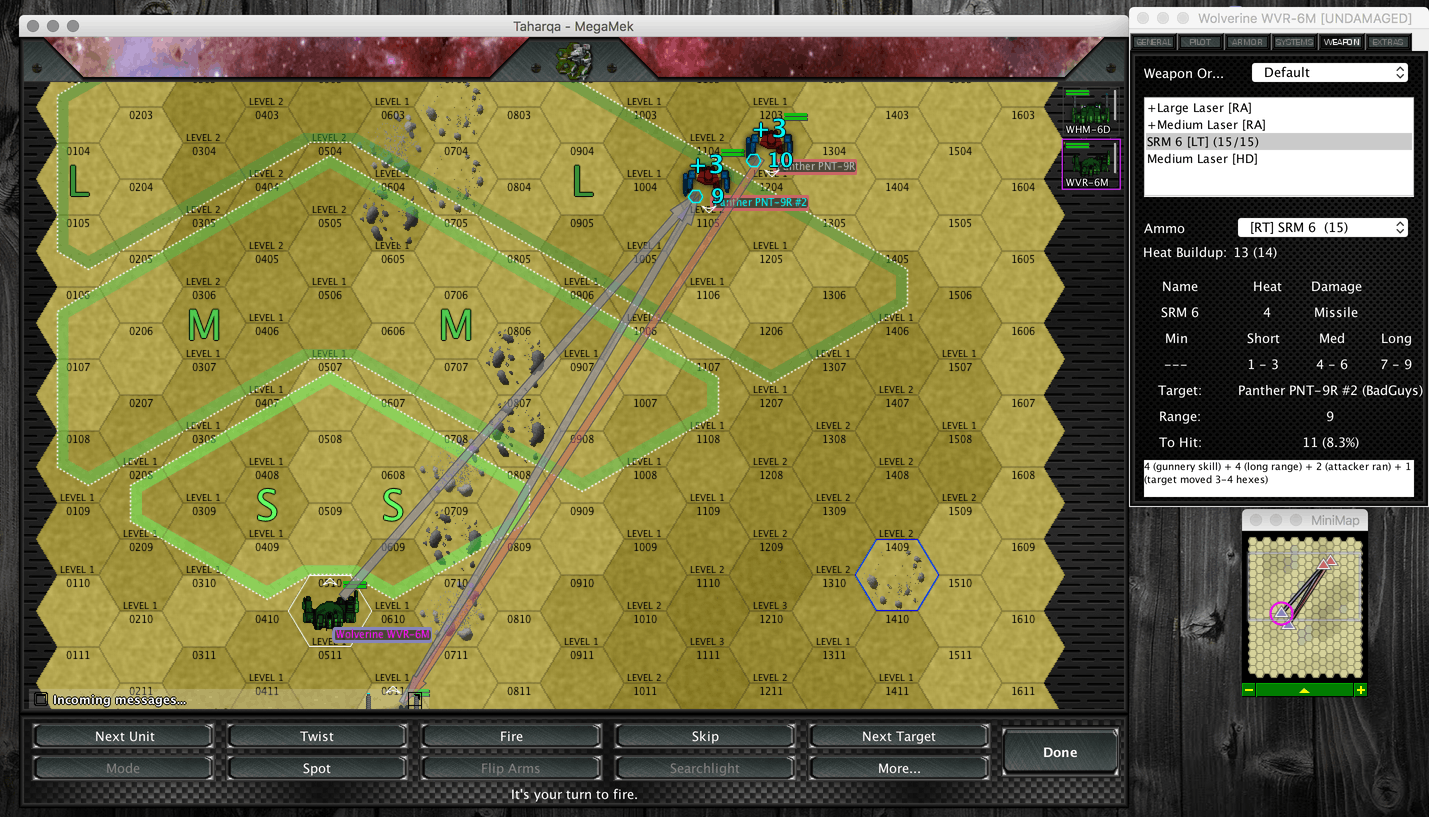
- Now you will see a report from the weapons phase showing what attacks hit and what damage was dealt. I missed with all of my attacks. Hopefully, you did better. Select
Donewhen you have read the report. - Now you will see the heat build up and end phase information. Select
Doneand you will be taken back to the initiative phase and can begin the next round. Repeat until your opponents are destroyed and you win!